Addr:Dongguan Mayor Anzhen Wusha Ring East Road Chen House brand building.
Tel:0769-89368511 / 33388293
Mobile:13925552470(Wechat Code)
Fax:0769-89032105
Q Q:2850923180
Email:wdp@keyangauto.com
website:en.keyangauto.com
Addr:Dongguan Mayor Anzhen Wusha Ring East Road Chen House brand building.
Tel:0769-89368511 / 33388293
Mobile:13925552470(Wechat Code)
Fax:0769-89032105
Q Q:2850923180
Email:wdp@keyangauto.com
website:en.keyangauto.com
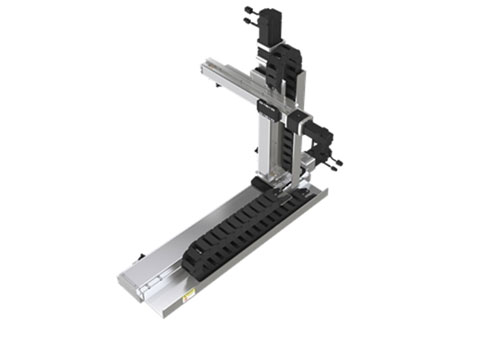
The maintenance of linear modules can determine the key to the long-term operation of an automated machine. Working 24 hours a day is very easy to cause the loss of mechanical parts, and more attention should be paid to how to maintain the linear module. The module manufacturer Sidouqiu Automation will explain the common fault inspection and maintenance of the linear module for you.

1. Daily inspection
1) Guards, cables, etc. are checked for damage, indentation or pulling after operation.
2) Check whether the ball screw, linear guide, and bearing have abnormal vibration or noise during operation.
3) Check whether there is abnormal vibration or noise when the motor and coupling are in operation.
4) Whether there are unknown dust, oil stains, scratches, etc. in all visually visible parts.
2. The linear guide and the ball screw should be lubricated regularly. Without regular supply of lubricating oil (grease), the friction between the steel ball and the ball groove will increase when the linear module is running, and it is very likely to shorten the guide rail and the ball groove. The service life of the screw.
3. Maintenance method
1) Once a month for the linear guide, add lubricating oil (viscosity: 30-150cst) to clean up the old oil, and carefully wipe the surface of the guide rail and the bead groove with a dust-free cloth, and apply it directly to the outside of the guide rail.
2) Once a month for the ball screw, add lubricating oil (viscosity: 30-40cst) to clean up the old oil, and carefully wipe the screw nut and ball groove with a dust-free cloth, and apply it directly to the outside of the screw.
(Part of the material on this website comes from the Internet. If the information displayed on this website violates the intellectual property rights or other legitimate rights and interests of media or individuals, please notify us in time, and we will delete it immediately.)